About This Run
The main goal of this run was to get everything in the game (100% completion) as fast as possible. Getting all the items (even though I don't use most of them) is necessary to acheive the "good" ending, and also makes for a more entertaining video, I believe. My main chances to shine were during boss fights. The bosses in this game are (for the most part) highly manipulatable, making many of the normally frustrating bosses look extremely simple.
- Aims for fastest possible time.
- Items: 100%
- Takes damage to save time.
- Uses death as a shortcut.
- Abuses programming errors in the game.
- Manipulates luck.
- Genre: Platform.
Sync Settings:
- Use WIP1 Timing: ON
- Allow Left+Right / Up+Down: ON
- Volume Envelope Height Reading: OFF
- Fake Mute desync workaround: ON
- Sync samples with sound CPU: OFF
The Run
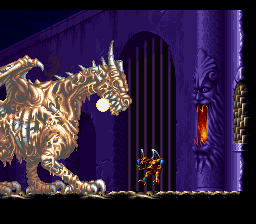
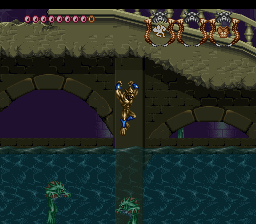
Level 1
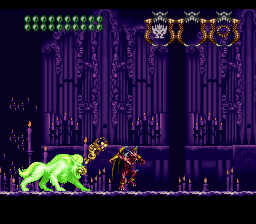
- Somulo (the zombie dragon) is as easy as I make him look, but Hippogriff, (and many other bosses in this game) are much harder than they seem in this movie. Hippogriff 1 was probably the fight that I spent the most time on in this entire run. He usually flies up and out of range, but after several long attempts, I finally got him not only to stay down where I could hit him, but not attack at all, and die close to the ground.
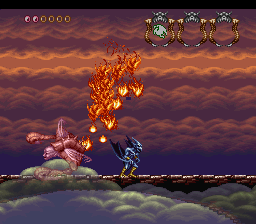
- Arma, the final boss of the level, took a while too. My main goal was to get him close to the ground when I deliver the final blow. If he's up in the air when he is defeated, it takes several hundred frames for him to descend and then start talking. I defeat him when he's on the ground.
Level 2
- From this point out, I try to use the Ground Gargoyle as much as possible to get through areas quickly. Jumping at the end of the dash extends the dash quite a bit, hence all the dash-jumping.
- You're usually supposed to light the torches in the dark section of the catacombs, but with tool-assitance, it would just be plain silly to do things the "right way.
- On the way up the vertical passage with Ovnunu, I try to ascend only when he's not breaking the walls, as this reduces lag. Ovnunu comes out of the slime when the mini-eyes are destroyed, and only when his pulsing slime reaches its midpoint, giving me a bit of leeway with how fast I kill the mini-eyes. I use Ground Gargoyle because his standing shot (as opposed to his jumping shot; you'll probably notice the difference) is twice as powerful as the normal fireball.
Level 4
- The horizontal section is quite windy, in case one is wondering why I'm able to fly so fast. Same goes for the large outdoor vertical section, except the wind is blowing up this time, aiding my jumps up the wall.
- My main goal for Arma 2 was killing him when he was touching the ground, as before. I managed to catch him in a loop, but I break the loop near the end to get him solidly on the ground as I kill him.
Level 3
- I use the Aerial Gargoyle in the first section because he's the only one that can snap the vines, allowing easy access to the Vial.
- I have to return to the level to collect the Life Vessel because the canopy only burns away after you kill the Flame Lord. Collecting it unfortunately restores your life, so I had to suicide out of the level at full life, but it's still faster than exiting the level naturally by heading to the right.
Level 6
- I could have flown to the right until I exited the area after collecting the first Vial, but it was pretty boring up there in the sky. I sacrifice a few frames and take the ground route, which is more entertaining.
- I jump around a lot in this level instead of walking because the ground has slippery properties, wasting frames if you try to walk on it. Also, you may notice some weird switching going on during this level when I pause. This has nothing to do with anything, and I merely was doing it for entertainment (seeing how many times I could move around the menu before being allowed to unpause again).
Level 1
Just backtracking to pick up a few items.
Level 2
I purposely fall into the water as Ground Gargoyle to collect the Vial and the Hand Talisman (I know this looks like a desync at first).
Head-Butt Mini Game
Looks easy, but is actually quite difficult in real time. I manipulated the skulls to appear on the bottom two rows only (excepting the last skull, which appeared on the right so I could take my prize sooner).
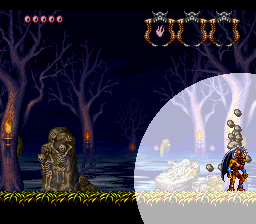
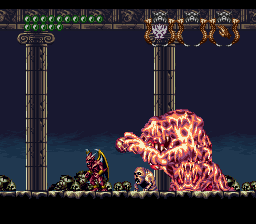
Level 5
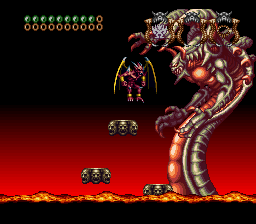
- When Crawler (the pile of puke or whatever) falls down from the ceiling, you're supposed to run away from him to the right and wait for him to transform. You're also supposed to return later and head up into the area that he falls from to get a Life Vessel. I do neither and simply walk through him, which saves me from returning to the area later, and also saves me the hassle of waiting for Crawler to reach the boss area and transform.
- The aquatic parts of this level were the hardest to optimize, especially the areas where I had to continuously avoid spikes, destroy blocks, and kill the swimmy guys. The parts where I touch spikes or otherwise get hurt are to better position myself to eliminate as much as possible on the screen to reduce lag, which is a plague in this level.
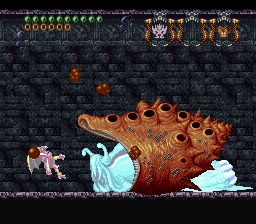
- Switching to Legendary Gargoyle during the Holothurion fight (the snail) is faster, despite the fact I am slowly drowning.
Level 3
Not much to say about this section, really. It's as easy as it looks, even for the casual player, including the pathetic boss.
Final Level
This was my favorite level to record, and it's also the most entertaining.
- When I ring the bell, it takes forever for the Life Extension to fall out, hence me falling back down and messing around.
- I never thought I'd actually use the Claw shot in this run, but it proved itself invaluable in the horizontal wind section, especially when I realized that I can stand on top of the goo in addition to using it normally to latch on to.
- After falling down the second vertical section, I land in the middle of the floor, rather than close to the door. I sacrificed a bit of time here to supply a bit of entertainment by killing all the flying rams.
- Annoyingly enough, Phalanx is one pixel out of reach, forcing me to switch to Aerial Gargoyle, fly up, and switch back to Legendary. Phalanx's third form is amazingly brutal for the casual player. It's stupidly simple in this movie.
The one minor glitch
If left and right on the control pad are held down while firing, Firebrand will shoot a fireball to the right, but it comes out of the back of his head rather than his mouth. I use this a lot to kill enemies that are behind me, and to manipulate bosses into positions I normally wouldn't be able to.
Possible improvements
Level 1
If there's any way to glitch through the breakable blocks in the vertical moving platforms section, this would negate the need to return the the level later.
Level 4
Another case where glitching through the breakable blocks might save some time. With Aerial Gargoyle, I was able to glitch myself somewhat inside of the moving skull pillar directly below the blocks by holding left, right, and A, but I wasn't able to do much else. Something to think about though.
Level 3
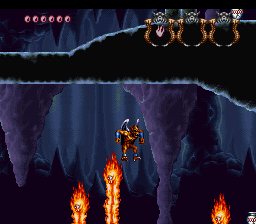
It may be possible to manipulate the second form of Flame Lord so that he does his sine wave for the duration of the battle. This would let you get more standing hits in with the Ground Gargoyle. Also, if there's a way to glitch up and into the burning canopy, I could get the Life Vessel the first time through the level and save quite a bit of time.
Special Thanks
Zurreco for various suggestions and his 100% route
Mechuyael for various suggestions
NesVideoAgent: Hi! I am a robot. I took a few screenshots
of this movie and placed them here.
Oh! I also replaced the ROM name.
- You indicated
Demon's Crest (US).smv
- I updated it to
Demon's Crest (U) [!].smc


