Traysia is an old Genesis RPG that drew me in the first time I played it. Despite it's technical flaws, it had a certain attraction to its story that I hadn't seen before in other games of its genre. It wasn't a quest about defeating a dragon, or answering a call to save the world; no, it was about a young adventurer remembering his sweetheart, Traysia. Even the title theme felt like someone composing a love song, instead of a grand beck and call to adventure. Nonetheless, it was that uniqueness that inspired me to eventually complete the game, and make this tool-assisted speedrun, as well.
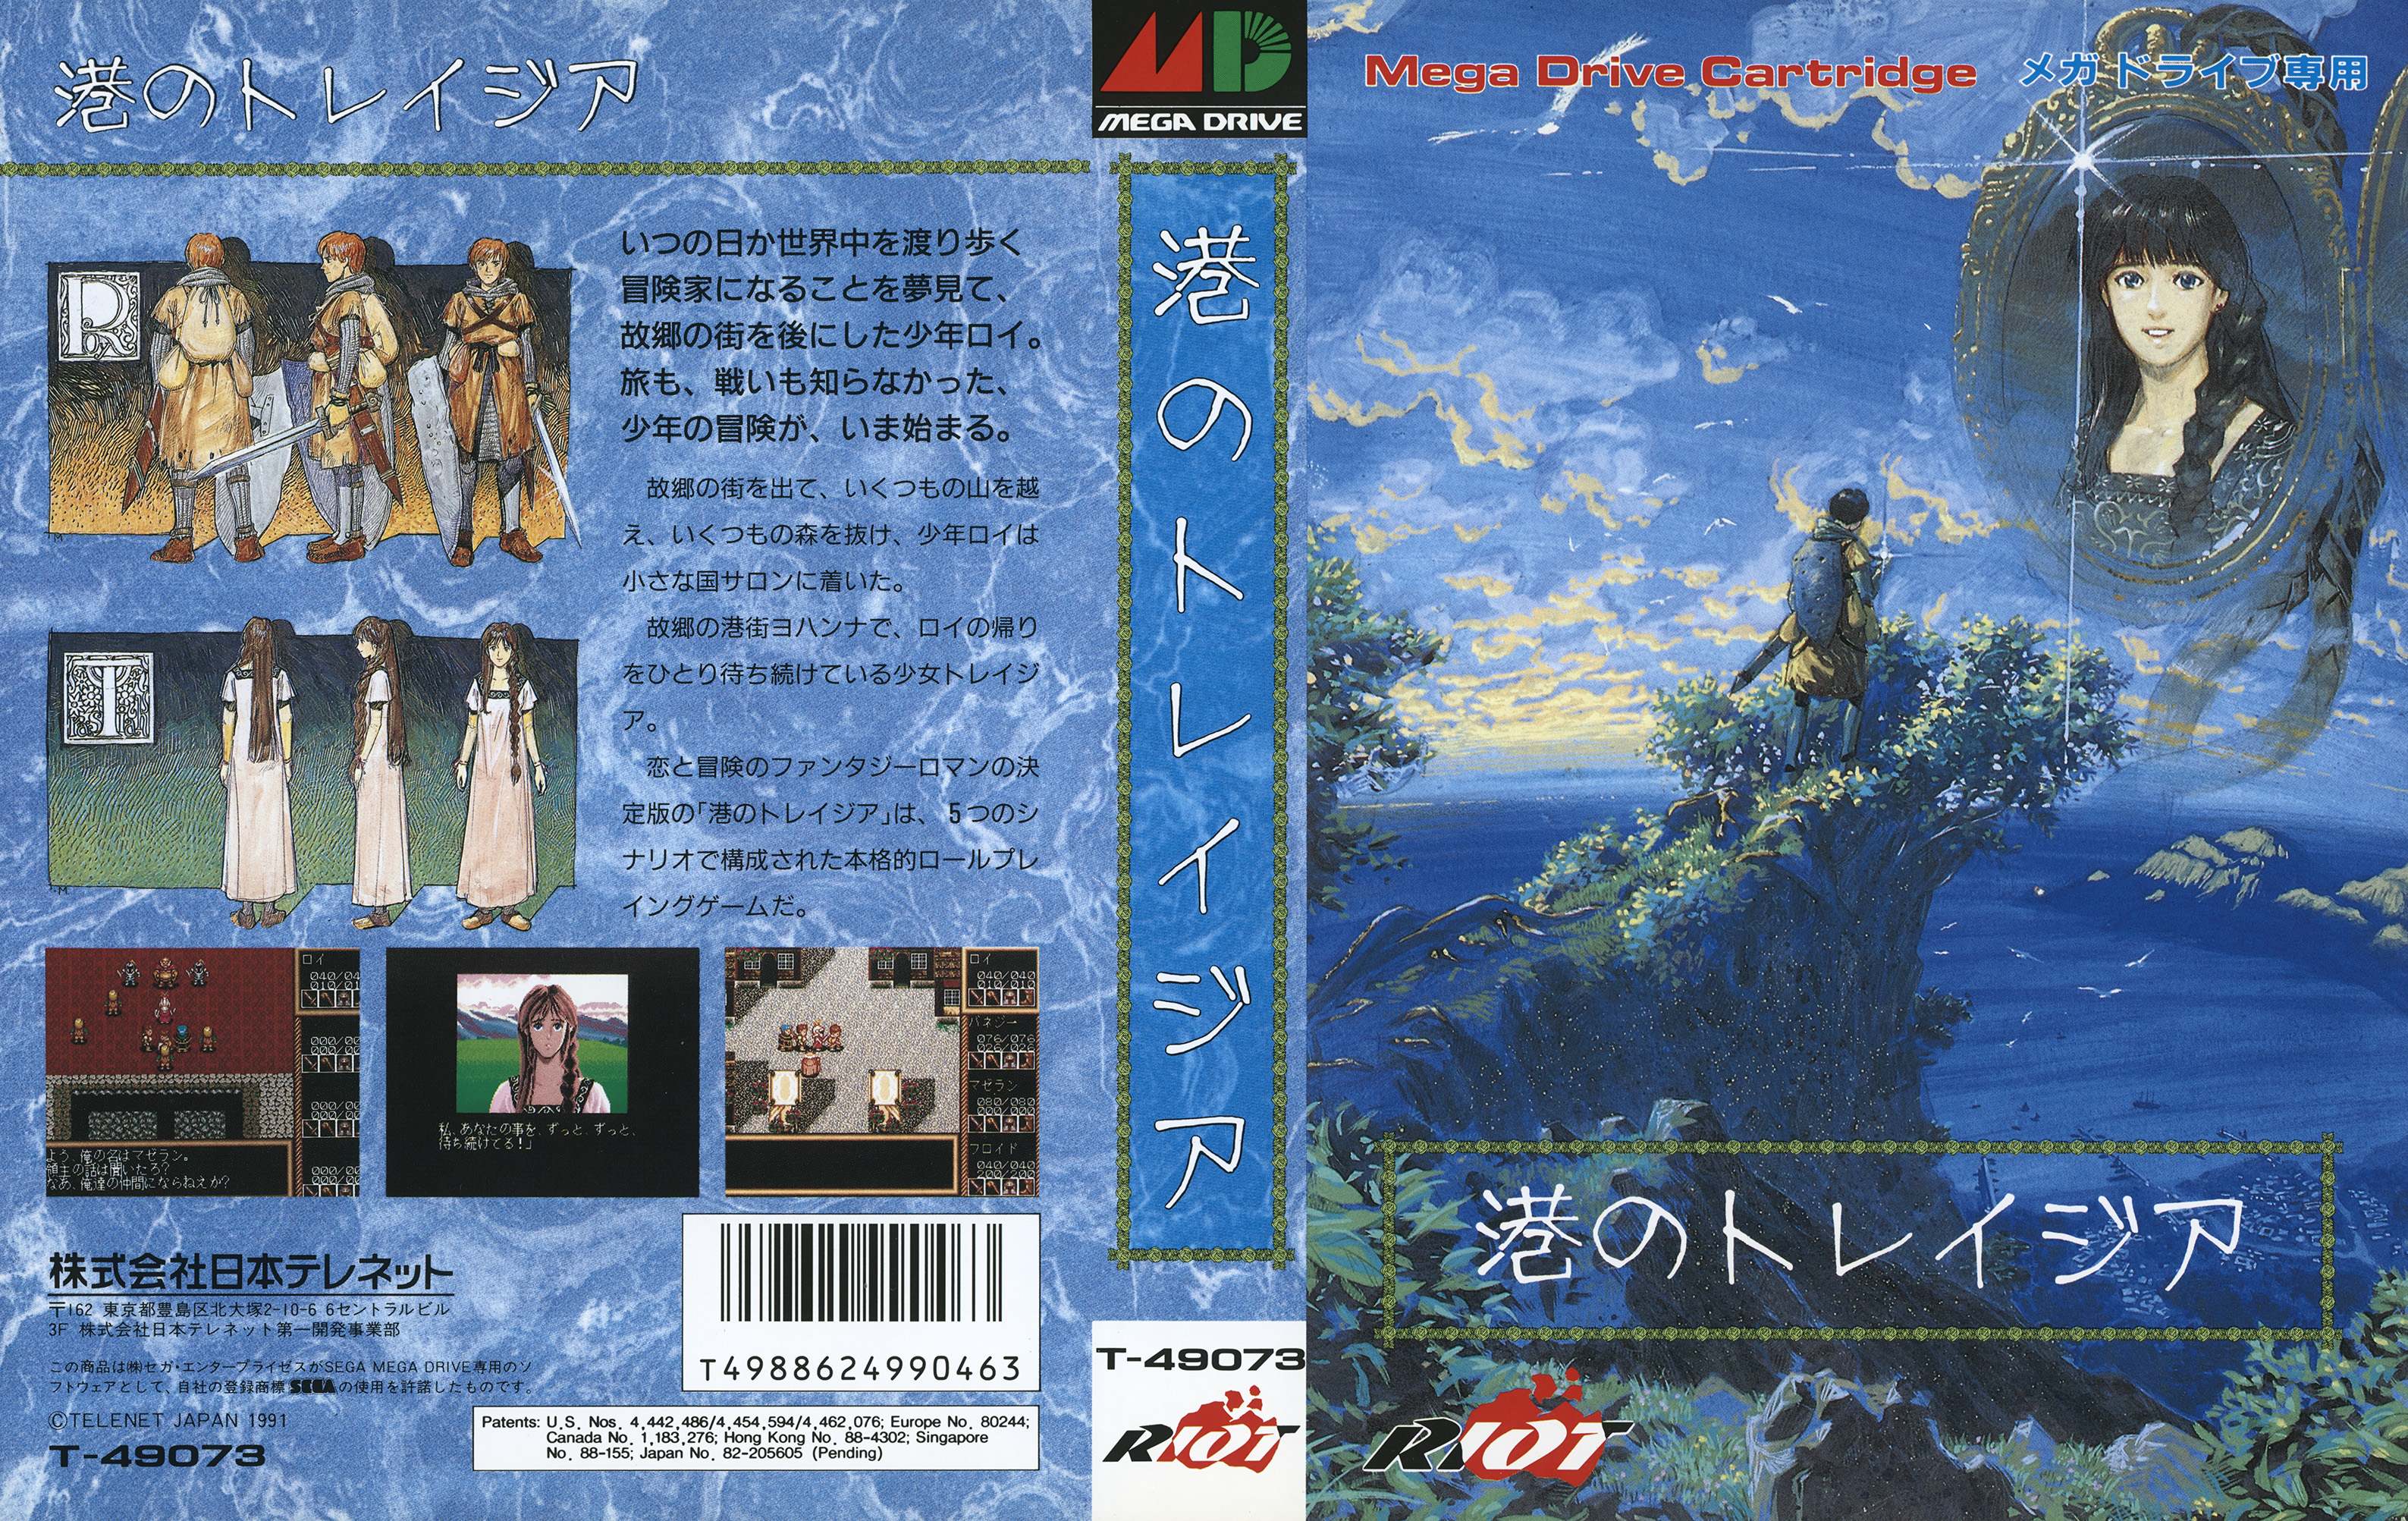
Original Japanese cover art: http://segaretro.org/images/3/34/Traysia_MD_JP_Box.jpg
Game objectives
- Emulator used: Gens_11b
- Aims for fastest time
- Abuses programming errors
- Genre: RPG
Comments
Traysia is a traditional turn-based RPG, broken up into five chapters which chronicle the adventures of Roy and his companions Banegie, Magellan, and (eventually) Bellenue. Battles are random encounter-based, which operate on a constant inner timer. No matter one's position or movement pattern on the overworld or dungeon, you will always get a random encounter after the same amount of time has passed. I have not discovered an obvious way to bypass this, save for entering towns or other exits on the map. Regardless, the encounter rate is refreshingly low and battles are easily fled from.
Furthermore, no random battles are fought at all in this game.
Magic is near useless. Spells often fail in combat, and rarely do any significant damage. Some aren't correctly programed, either. The most powerful and expensive spell, Illi Own, doesn't even register in your inventory when bought! Additionally, there are numerous chests scattered around the later chapters which supposedly give you a 'Book of Magic', which also doesn't appear to register. Either way, inputting physical attacks are far faster than casting spells.
Tricks Used
ACCESSORY STACKING BUG
Armor in this game consists of certain accessories called 'Sticks' which can supplement everyone's defense. It was clearly intended to only allow one these accessories to be equipped at a time. However, a programming oversight allows for multiple types of these items to be "stacked" on top of each other, giving potential to raise your stats high enough to completely nullify damage. I use this trick almost exclusively with Bellenue, as she quickly becomes the only character used to attack with during boss battles.
RAPID-FIRE
This is a tas-exclusive feature. Out of the four main characters, Bellenue has the shortest attack animation with her bow & arrow. Instead of a drawn-out swing with a sword (104 frames), her's is almost instant (7 frames) when standing next to an opponent. This allows for extremely fast combat rounds, often going as low as 26 frames a round! Relative to watching a normal playthrough, all bosses in this game are quickly torn to shreds. To further put this in perspective, no boss fight in this TAS ever approaches the 2 min. mark.
ENEMY A.I. EXPLOIT
When an opponent moves in on you, they are "locked in place". Meaning, they will stay in that, and never move, indefinitely attacking until you or them are defeated. I exploit this often by moving high-priority targets(i.e. Roy) just past the character I want attacked. This makes for an excellent decoy strategy.
Stage by stage comments
Chapter 1: The City of Salon
The man standing beside the INN must be spoken to in order to activate the recruiting event at Salon Castle. Upon leaving town, Floyd's 'Power Stick' was traded off to Magellan to eventually give to Bellenue. The brief 'zig-zag walking' used along either side of the riverbank was my own shout-out to whomever made the original WIP a few years back (https://www.youtube.com/watch?v=gM30TW-PXMk). Thankfully, that type of walking didn't end up being a time-saver (imagine the whole game being that!).
BOSS FIGHT 1: Minotauros
Minotauros was quickly dispatched by Banegie and Magellan. This, however, will be the only time they'll be used to attack for the rest of the game (Roy is never used once). Once Bellenue joins, her rapid attack speed obsoletes the need to use anyone else.
Inside Salon Castle, the Long Bow was obtained and given to Bellenue, along with other defensive items held by the party, in order to cancel out all attack damage in the upcoming boss fight. The difference between taking damage and nullifying is about 15 frames, each time.
BOSS FIGHT 2: The Master & Floyd
From here forward, the battlefield dynamics change. With Bellenue being the only adequately armed fighter, everyone else is basically a sitting duck. To make matters even more challenging, Roy must also be aggressively protected. Like other main character protagonists, once Roy dies it's GAME OVER. The strategy began with moving Magellan just above Floyd in order to draw in The Master. Roy was positioned below Bellenue, and then right beside her, in order to escape The Master's attack priority. A slightly amusing slap-boxing match ensues, with The Master being on the losing end, followed by the traitorous Floyd (who flees, afterward).
Chapter 2: The Kingdoms of Millennium
This was one of those event-happy chapters where I was forced to trek, back-and-forth, across the desert in order to further the storyline. In order, my route consisted of: Iyuve Kingdom > Lyude Kingdom > Selve Village > Mountain Hideout > Event blackout to Iyuve > Master Swordsman's Hut > Lyude again > Iyuve again > Master Swordsman's Hut > Iyuve ONCE MORE > Northern Temple. Not for nothing, the walking segments inspired me to get more creative and "sync" the party's walking movements, in various different ways, along with the musical score. I strove to do this throughout the game to create more of an entertaining presentation (plus the soundtrack is amazing). This chapter, however, is where I believe I did my best work.
During the first visit to Lyude, I bought Bellenue an 'Ice Arrow' and stacked four 'Mage Sticks' in order to prevent all damage taken in this chapter.
BOSS FIGHT 3: Soldiers X5
Admittedly, this was a tricky battle to figure out and took a day or two to solve. I had to get all five soldiers to file in towards Bellenue without having them distracted by the others. Roy, of course, had to be defended at all costs. I eventually thought of the idea of moving everyone towards the bottom-right in a kind of 'defensive triangle' position, with Bellenue baiting enemies in along the outside. This ended up working wonderfully, as Bellenue picked them off, one-by-one, in rapid fashion.
BOSS FIGHT 4: Crawler X4
Most of the battlefields from here on out have pillars along either side (being as most conflicts are now taking place inside a temple). This is good in the fact that the primitive A.I. will become "trapped" directly behind them. However, this also gave me the added challenge of lining Bellenue along with them, while also quickly drawing in the rest of the group. The strategies I developed here served me well for the rest of the run. I began by sending Magellan and Banegie forward. Magellan held off any advancement toward Roy, while Benegie allowed Bellenue to move in just behind her. After both fell in battle, I used luck manipulation to attract the last crawler inward.
BOSS FIGHT 5: Priests X3 & Wizards X2
Same mind-set as the last battle. Magellan and Banegie go in first to position and hold off any forward advancements, while Bellenue comes in from behind. However, five enemies this time around called for another strategic element. Specifically, Roy runs past Bellenue and "decoys" in order to draw in the last attacker. That, followed with some luck manipulation, made the winning difference in this battle.
BOSS FIGHT 6: Wizard's Helper & Priests X4
Similar tactics, with some subtle changes. Bellenue is the slowest member of the team and will never act before an opponent. It was necessary, therefore, to have Banegie move in first and bait the Lord Mage and k.o. her. This allowed Bellenue to move in from behind and line up with four of the five foes. Roy decoyed to draw in the last.
Chapter 3: The Town of Adventurers
I want to start off by saying that Ch. 3 is a real fun chapter, but unsettling. You see, the Town of Adventurers is actually a series of 13 settlements built, one under the other, underground. Since I'm speedrunning through, very little of the actual story is seen; which is an interesting plot. It really starts to get strange in the lowest towns; where there are people who've been turned to stone, open-wide pits with ghosts roaming about, etc.
If you have a spare moment, you can read a little more about it from this guide by Eller on Gamefaqs: http://www.gamefaqs.com/genesis/586560-traysia/faqs/11587
Anyhow, all these towns are interconnected with each other. In order to advance deeper, you have to obtain the particular key of that area from the town's mayor or leader. I believe there's around eight keys, total. However, by only completing what's required and going straight to the Town of Kings, I'm able get the 'Platinum Key' which unlocks all of the towns. I begin in the Town of Adventurers and quickly make my way through The Town of Merchants, and then the Town of Thieves. From here, I'm prompted to visit the Magic School in the Town of Wizards...
BOSS FIGHT 7: Priests X3
Nothing to this one. Roy decoyed again to draw the furthest most Priest toward Bellenue. Short and sweet.
Apparently, after completing this trial the head instructor is supposed to grant Roy some magical abilities. After a blank dialogue screen the instructor briefly flashes, and then says that he's taught him "everything I know". What's really weird is that Roy actually now has every spell in the game listed in his spell inventory - but loses them all as soon as the party leaves the room. ...I'm telling you, this entire chapter is strange. Not a major loss, however, since the spell system in this game is broken.
Along the way back, I obtain a Gold Mirror near the stairs from the only unlockable chest in the Town of Thieves to sell later on. From here, one more visit to the Town of Wizards is required before advancing to the Town of Kings to pick up the 'Platinum Key'. In the Town of Nobleman, I buy Bellenue a 'Salamander' bow and four 'Water Sticks', bringing her defense up to almost 400. This effectively nullifies all damage for the rest of the game. Oddly enough, you're able to get into random encounters inside the Nobleman's shop.
After a considerably long descent, I enter inside the deepest Underground Temple, where I also obtain a Gold Shield. Altogether, this is necessary in order to purchase a 'Black Arrow' in Ch. 4.
BOSS FIGHT 8: Lord Mage & Priests of the Devil X4
Magellan was sacrificed this time in order to bait the Lord Mage down and set up an appropriate formation. Same general tactics used, otherwise.
Chapter 4: The Battles in My Memory
At this point, enemies have out-leveled me so bad that I can't get the initiative during random battles. I counter this somewhat by manipulating formations to have the least amount of enemies.
BOSS FIGHT 9: Black Dragon
Getting the 'Black Arrow' was absolutely necessary in this chapter. During playtesting, attacking with the 'Salamander' bow took a bit over 80 rounds to obtain victory. Combined with the Dragon's long attack animation, this was unacceptable. Unfortunately, nothing could be done to shorten its animation, aside from awe at the fact that Bellenue is apparently fireproof.
I am convinced that this chapter was rushed. There's so many quirky bugs here and there that were overlooked. For instance, during the first trip inside the Witches Fort, my party nears a set of stairs and gets abruptly teleported into the throne room with Floyd and the Witch Queen. Really? No one had enough time to program a set of stairs? Once back in the overworld, I escape a random battle only to have the BGM cut back to the 2nd Dungeon Theme (very good theme, btw). In this case, it actually worked in adding to the event's unsettling atmosphere.
BOSS FIGHT 10: Queen of the Witches
Much more tolerable than the last fight. Having just one foe on the battlefield really showcases Bellenue's speed while TASing. If you pay close attention, the final blow lands at just the right time to go along with the BGM.
Chapter 5: Port Town Johanna
In the very beginning, I don't have to stand face-to-face with the guards to pay the toll. This saves a little of bit of time entering Johanna. Everything is straightforward now, as I travel south to reach the Lighthouse. From here, my party is apprehended and placed, apparently, in a minimum security prison. For those who've actually played the game on a console (and without a walkthrough), there is no provided map or illumination to navigate through the two 'dark zones'. Yep, it's all trial and error. Fortunately, Eller's guide on Gamefaqs provided a nice ASCII map to assist me through.
BOSS FIGHT 11: Chief of Isis X4 & Isis's Soldier X1
Like Ch. 2's fight with the Soldiers, I moved Roy over to the bottom-right corner while Bellenue flanked beside him to draw in enemy fire. Magellan was toast, no matter what. I found it odd that the designers included an inferior Isis Soldier alongside elite troops.
Back in Johanna, Traysia must be talked to in order the advance the story. Otherwise, the Mountain Temple will still look accessible, but you won't be able to enter inside.
FINAL BOSS: Froid & Chief of the Division X4
Yep. That's not a typo. They couldn't even get Floyd's name right on the final battle. Anyways, no new tactics were needed here. Floyd has a TON of defense (300) and HP (around 3,750). Took 51 rounds to pound him out. I don't even think Batman landed that many shots on Joker in Arkham Origins...
Despite being a 16-bit game, I found this scene immediately after the battle to be touching. Like I mentioned in the beginning, the game's theme is a love story; and despite the shoddy translation, it especially shines through on Banegie. There really was effort put into this character and her struggles with falling in love with Roy, enduring heartache, and then embracing gradual acceptance. Putting all that in perspective makes this scene powerful, if you ask me.
Known Improvements
Listed below are all of the known errors that I made during my run.
- Ch 1: It ended up not being necessary to equip Magellan with Floyd's 'Power Stick'. Simply trading it to Roy, instead, would've saved about 57 frames.
- Ch 1: During the first three random battles, I did not quite have the hang of optimizing menu input while escaping. Specifically, I was off by 1 frame each time a character was highlighted. These series of errors cost me 12 frames, total.
- Ch. 2: While visiting the Iyuve & Lyude Kingdoms, there were two instances within the throne rooms where I unnecessarily moved Roy over two spaces instead of just going straight. this cost me 16 frames, total.
- Ch. 2: During the Crawlers boss fight, I noticed that it would've been faster the kill off the two enemies beside Bellenue before targeting the one furthest away. This cost me around 51 frames.
Possible Improvements
- Ch. 5: Within the two 'dark zones' inside Johanna's prison, I'm not entirely sure if the route is optimized. I used a route off a guide on Gamefaqs and tested it out by hugging alongside the walls. Everything looked good, but I guess the nature of navigating through pitch-black areas leaves room for speculation.
Suggested Screenshot
[dead link removed]
Suggested Description
Originally known as Minato no Traysia (港のトレイジア) in Japan, this turn-based RPG adventure doesn’t involve the typical ‘save the world’ or ‘vanquish the ultimate evil’ plotline. Not this time around. It’s actually themed around a young man’s sweetheart named Traysia, as he sets out from his hometown to fulfill his dream of exploring the world (vanquishing evil is involved, however).
ars4326’s run showcases two noteworthy features in this TAS. Not a single random encounter is fought, and all boss battles are blitzed through by abusing a party member’s rapid attack animation. At times, the game may remind you of a pseudo-shooter instead of a traditional RPG.
Special Thanks
To everyone in the Sega Genesis forum who provided feedback (Aqfaq, goldenband, Cooljay), and those who viewed and watched the WIP's. It's often not easy to attract a crowd for obscure games. Thank you for checking out this TAS!
feos: Accepting for Vault and publishing...