Luigi's Mansion any% TAS in 9:27, (7:43 RTA Timing)
To sync the run:
- Emulator used: Dolphin 5.0-15260
- Dual Core off
- DSP HLE
- CPU Emulation Engine: JIT Recompiler x86-64
- Memory Card Slot A Enabled
- .dtm to create save file: download (should sync with any memory card data that has Hidden Mansion unlocked with no progress on File 1)
Objectives
- Complete the game as fast as possible (any%)
- Starts from SRAM
- Takes damage to save time (win)
- have fun :)
NOTE: This movie was submitted with the branch name "any%", as this is the correct delineation for the category. I am aware that the currently published movie for this same category is published under the branch name "chest glitch". While it is not my decision what to do about this, should this movie be accepted for publication, I would strongly encourage the publisher to change the branch name of this category to "any%", and rename the branch that submission #4960 is published under to the common term for that category, "any% No OoB" or "No Out of Bounds". Barring this, I would highly encourage the publisher(s) to at least rename this branch to "Out of Bounds". thank you i love you tysm
Overview
This TAS is an improvement on the currently published ‘Luigi’s Mansion “chest glitch” in 10:11.85 by solarplex’, and uses the same general route to complete the game as fast as possible, while improving every room in the run by some amount and incorporating several new strategies to save a significant amount of time over the previous published TAS. The route involves completing Area 1, clipping out of bounds and maneuvering straight to the final boss fight with King Boo.
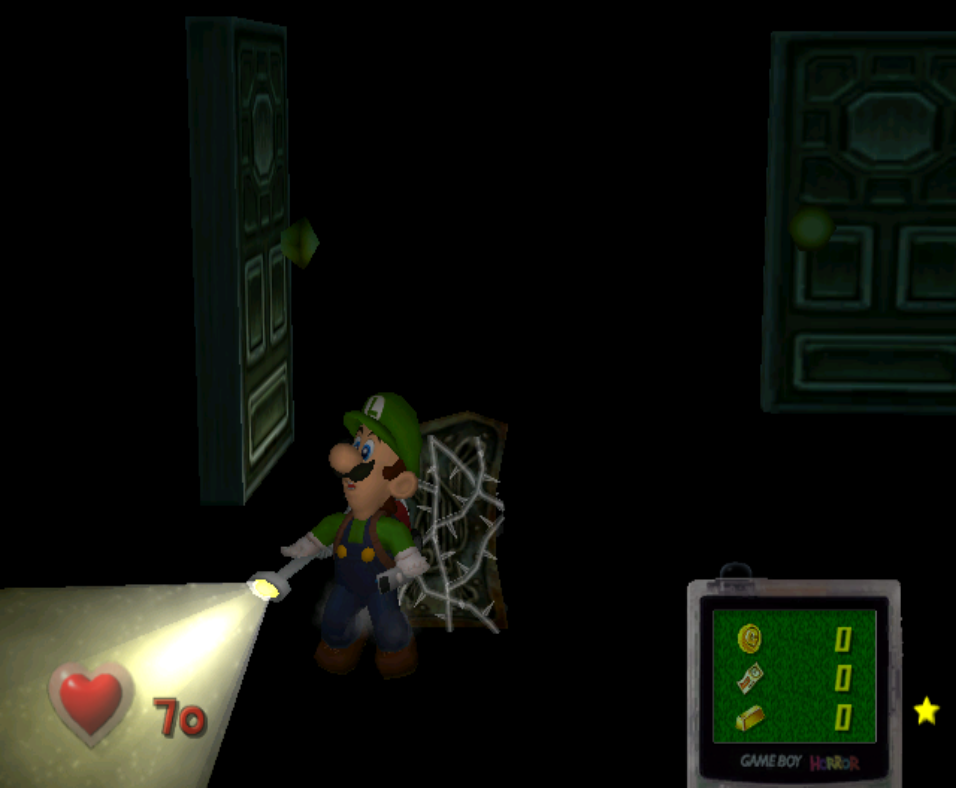
Like all other published LM TAS’, we play on the ‘Hidden Mansion’ mode standard for RTA speedruns, which allows us to avoid introductory cutscenes and doubles the efficiency of the vacuum.
This run also plays on the Japanese version of the game. The complete list of version differences is very small, and the only relevant differences for this run are text speed: interestingly, although JP games with faster text are usually faster in every instance of text appearing, this is not the case for Luigi’s Mansion. Some of the text in Area 1, like the Egadd text talking about portrait ghosts before Neville’s room, is faster in the English release. However, all of this time and more is made up on the text before and after the King Boo fight, making Japanese overall faster by both RTA and TAS timing.
This movie was created on a newer, more load-accurate (slower) version of Dolphin, and thus loses time in many instances over the course of the run compared to solarplex’s 10:11. Specifically, ~2 seconds is lost immediately just from loading into Egadd’s hut to select Hidden Mansion and then loading into the Foyer. Additionally, several frames are lost every time the game loads the cutscene that plays when opening a unique key-door for the first time, as well as loading into the King Boo fight from the cutscene in Altar.
Route Differences
Many optimizations were made to all Area 1 rooms, but the majority of the time saved comes from a few specific discoveries that have been made in the years since solarplex’s run was published in 2014.
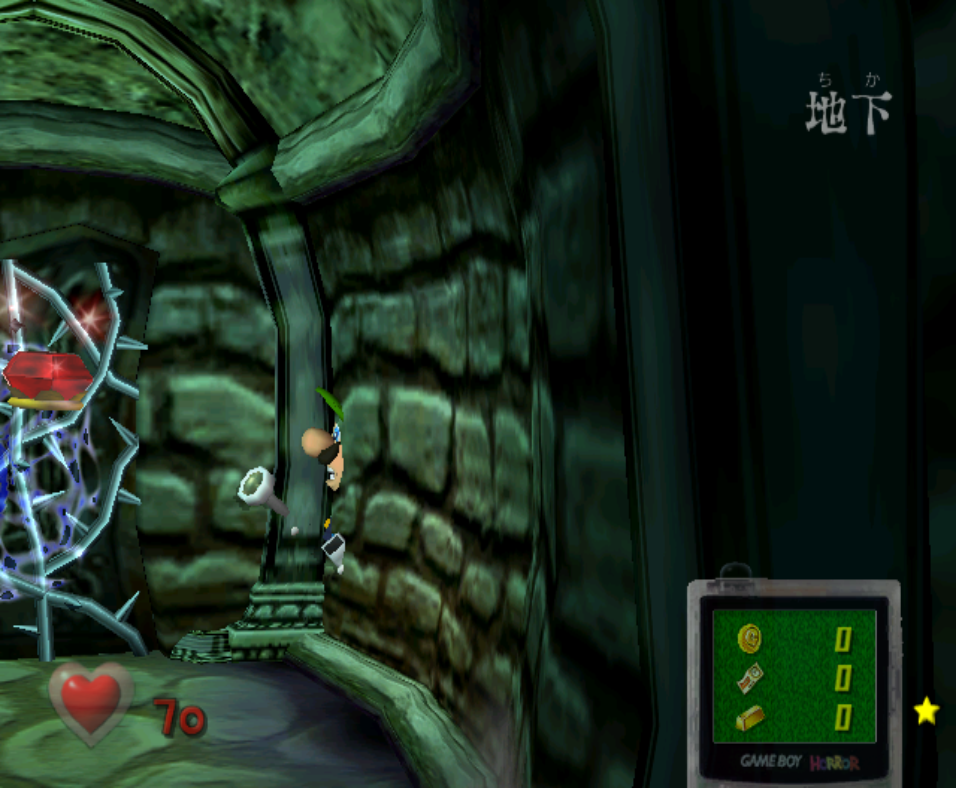
- Door Skip
- Once you clip out of bounds with the chest onto ‘Floor 1.5’, the first obstacle one encounters on the way to King Boo is the door between the foyer and main Area 1 hallway. Instead of opening this door (which causes an absurd 11-second long door opening animation), it was discovered that by getting a steep enough ‘skew’ off the Floor 1 ceiling bats, maneuvering Luigi correctly and knocking on the wall, you can clip past the door entirely. Additionally, I discovered a different method of doing this clip that uses the slight change in Luigi’s hitbox that occurs when you press A to call Mario instead, thus bypassing the wall-knocking animation as well.
- Skew Retention
- Skews are an interesting side effect of taking damage while standing on Floor 1.5, and their discovery is what originally made this route possible, almost a decade ago. It has been theorized that it may be possible to retain the second skew (used to cross over the ceiling beam into the main section of the Area 2 hallway) with a steep enough angle to use for the final clip down to the basement, thus eliminating the need to get a third skew off the bats in the northern section of Area 2. Unfortunately, even the best skew you are able to retain is not steep enough to do the traditional clip down to the basement. However, I discovered a slightly different method of clipping out of bounds in this corner, which requires a much less extreme skew but is orders of magnitude more precise and likely TAS only in its current iteration. This saves 2 seconds over getting a third skew.
- King Boo One-Cycle
- This is easily the biggest improvement to the published run, and it’s discovery just over a year ago is the reason why the current RTA record for any% is over 20 seconds faster than solarplex’s TAS. Saria100, Red, and Crazy8 discovered that by hitting Bowser’s head a second time with one of the extra spike bombs he throws out during the fight, after you have hit him once normally and King Boo is vulnerable in the arena, the timer that determines how long King Boo is able to be out for is reset, and this allows you to drain all 500 of his health in a single attack cycle, saving around 20 seconds.
- Suck-Up Optimization
- Aside from those few new strategies, significant time was saved throughout the run by optimizing ghost suck-ups. For the most part, draining ghosts of their HP optimally is a relatively simple process: hold away from the directions they are flying in for 10 frames with the C or analogue stick, input a neutral value on both sticks for one frame to reset the amount you are able to drain continuously, and repeat. The optimization comes after their health reaches 0, but before they begin the ‘suck-up’ animation into the vacuum: during this time, the game determines how long the suck-up animation will take to complete. It has been commonly understood that there are two types of animations you can get for every suck-up: a ‘wave’, or a ‘twirl’, with twirls being faster than waves in almost every instance. However, the mechanics behind getting faster than normal suck-up animations of either sort are very complex, and not even I understand completely what the game is actually checking for when making these calculations. In practice, there were several factors that seem to come into play:
- Distance between the ghost and the vacuum
- Direction the ghost is moving, as well as how fast they are moving
- Vacuum suction shape
- RTA runners of this game, aware of the potential time save from faster suck-up animations, have long been in the practice of flicking the control stick back and forth repeatedly at the end of draining a ghost to help improve their chances of getting a fast animation, which seems to actually help in improving consistency. While it isn’t as simple as ‘more/faster flicks = faster animation’, there is a reason why this works. Again, I don’t really have a technical explanation for this but in my experience; it helps to think of the vacuum suction shape (the shape of the visible air-force between the vacuum and the ghost) as a rope. Before the animation starts, if the shape of the rope makes a really wide arc in any direction, you will likely get a slow animation even if you're physically close to the ghost. However, wiggling the stick in certain ways, all relative to the first two factors of speed/direction and distance mentioned above, allows you ‘pull the rope taut’, and doing this can decrease the distance the ghost needs to travel in order to finish the animation, thus speeding it up significantly. It is important to note that once a ghost actually enters the suck-up animation, the length of it has been completely determined and you can no longer influence it, which means that you are free to move how you’d like before the ghost actually ‘pops’ into the vacuum without worrying about slowing it down.
In a TAS setting, this means that it is advantageous to manipulate ghost flight directions while you’re draining them so that when their health drops to 0, they are as close to you as possible, flying towards your vacuum, and/or completely stuck on a wall/Luigi/a piece of furniture. This manipulation is most obvious with the garbage ghosts in Wardrobe, but it was applied to every ghost in the run, and saves several seconds throughout the run overall. Some ghosts, such as all three of the punchers in Parlor, have very low health and do not spawn by furniture that they are able to get stuck on, so their HP is drained before they can be manipulated in the same way as some other ghosts. Even so, every ghost suck-up in the run was improved bv some amount compared to every other TAS.
Other Optimzations
- Improvement going up the stairs to Parlor at the beginning of the run
- Improvement getting the key and leaving the room in Wardrobe
- Improvement in activating the blinds in Lydia’s room to expose her heart earlier
- Improved getting into the Chauncey fight
- Improved ‘pushing’ Chauncey while he is doing his body slam attack in between cycles to make him end the attack faster
- In the Chauncey fight, the ball you shoot at him in his first cycle becomes tangible immediately after touching a surface in the arena. However, the ball for his second cycle does not act like this, and requires some manipulation to be immediately tangible. RTA runners do this by taking damage from the last rocking horse before the second wave of balls spawn, and the previous submission gets hit by the actual ball, both of which immediately render the second ball tangible as soon as it enters the arena. I discovered that by manipulating the first ball so that it bounces off the side and not the floor as it enters the arena, you are able to make the second ball tangible instantly without taking damage in any way, which saves around a second depending on which method you are comparing against. Note also that for some reason, doing this seems to make the second ball bounce off the top of Chauncey’s head and land further down in the arena if you try to stand in the optimal spot to catch it, which is why it was necessary to take a slightly wider angle to catch/release the ball compared to the first cycle.
- Removed the need to pause and switch back to Standard mode for the last out of bounds clip
Individual Room Comparison
I did some calculations in a video editor to determine exactly how many frames were saved in each segment of the run, comparing against solarplex’s currently published 10:11. I tried my best to avoid factoring in load times/text in order to more accurately represent these comparisons as the difference in pure optimization without loads/text, but due to the nature of the differences between these movies this was not always possible.
(All timing calculated in visual frames)
- Foyer –Parlor Movement: -1f
- Parlor: -8.5f
- Anteroom: -44f
- Wardrobe: -42f
- Wardrobe-Neville Movement: +19f (due to text/load differences)
- Neville: -5.5f
- Lydia: -6f
- Chauncey’s Room: -2f
- Chauncey Fight: -65.5f
- OoB Movement: -465.5f
- King Boo Fight: -603.5f
Other Notes
- All the time comparisons in this description are against solarplex’s movie. However, earlier this year ElectricMiles created a new TAS of this category, utilizing several of the new strategies discussed here (namely door skip and King Boo one-cycle). This submission beats ElectricMiles’ TAS by ~21 seconds, and thorough analysis of both of these movies (as well as the Area 1 in Malleo’s Any% No OoB TAS) was done during the creation of this run to ensure that every section was either beaten or matched in time to whoever had the best segment.
- There is a trick used in all RTA speedruns of this game that was not implemented in this run due to the nature of its setup: commonly known as ‘Map Glitch’, it is a trick that permanently disables the map from appearing until the console is hard reset, but persists through soft resets. It is performed by entering Egadd’s training room, and then inputting a specifically timed button combination during one of his text boxes. This would save frames every time Luigi collects a key, as doing so usually forces the map to appear and means that we have to spend time loading into the map screen and then closing it. I cautiously decided to not include this trick, as including the setup in the movie itself would be quite a bit slower overall (as this run collects only 4 keys), and including the setup in the verification movie would require you to start the run from a state other than power off.
- A note about modes of movement: there are two options you can switch between any time on the pause menu: Standard and Sidestep. With Standard, the analog stick controls Luigi’s movement direction and facing angle, while in Sidestep the analog stick controls only his movement direction and uses the C-Stick to change his facing angle (only in dark rooms, in lit rooms all controls are functionally Standard (?) ). It is technically possible to do at least the first two skews in Standard mode, with precise control of the C-Stick (holding it at a certain value allows you to enter ‘pseudo-sidestep’ mode, where you can move Luigi with the analog stick without changing his facing angle, thus still move around while retaining a skew). However, Luigi turns significantly slower with the C-Stick while in Standard mode, making both of the first two skew-related skips much slower to perform (I think knockless door-skip may be impossible without sidestep). Because pausing to switch between modes is so fast anyway, taking only several frames, switching to Sidestep for the OoB segment is the best choice (although I did manage to eliminate the need for the second pause switching back to Standard mode as mentioned previously).
- The orange ghost in the left wardrobe in Wardrobe is not connected to the timer that spawns the next wave of ghosts, only the ghost that spawns behind Luigi is. This is why I can take extra time to suck it up while waiting for the next wave.
- This run finishes while collecting only King Boo's crown, which qualifies as low% completion
- From the moment King Boo is vulnerable, there are only 3 frames spent not draining him
Run Creation & Thanks
First of all, shoutouts to sockfolder, the god, the prometheus of the skew.
Luigi’s Mansion was the first game I ever owned, and it is a well-known fact that it is also the game that Nintendo decided to use Their last Soul Crystal on; every subsequent game release (especially in the LM series) having fallen farther and farther from the light. It holds a special place to me, and I have dabbled in RTA speedruns of it several times over the years. I noticed that solarplex’s movie was quite dated and knew of all the recent RTA optimizations of the any% category. As a connoisseur of glitched runs, LM, and TASing, I figured it would be a fun project to give it a modern update. While preparing to begin, I was made aware of ElectricMiles’ TAS, released only 6 months ago, that did exactly that by implementing the new strategies. Still, I noticed many possible optimizations and knew of further theoretical tricks that he did not attempt, so I figured it would be a good opportunity to put my nose to the grindstone and try to squeeze as many frames as possible out of Area 1 and the short OoB section / boss fight at the end. It took me exactly 1 month to complete, and the result is way better than I imagined it would be going to it, I ended up bringing some previously theoretical tricks into reality and I think it sets a great new standard going forward for any future full-game TAS’ that can utilize suck-up optimizations to even greater effect.
Thank you very much to ElectricMiles and solarplex, for the stone(s) on which to grind. I consider both of these movies excellent for being their first major TAS projects!
Thanks also to Malleo, first of all for the No OoB TAS with which I compared against, but also for helping me with some of the technical side of producing this run as well as helping me glitch hunt and answering my noob questions.
Many thanks to Saria100, who helped me quite a bit along the way by reviewing my WIPs and pointing out possible improvements or new strategies to try, and just in general for holding it down for the too-small LM science community. Please unlist your videos homie
Additional thanks to Snap, Banananana, Blars, minimini352, Flauke, Pablo, weirdboo, MegaLightning and Hoplesslmanity specifically for either answering my questions or providing some kind of feedback on some aspect of the run, and the entire LM community in general for continuing to push the meta.
Much love to Beatrice, and Adrian.
Possible Improvements
- It is likely possible to save a frame or two blowing out the candles in Parlor, by delaying pulling out the vacuum until you are closer to them, like the blinds in Lydia’s room. Oops.
- It is likely possible to further improve some of the suck-ups in this run by a small amount. Despite improving every single one over the previous TAS, the vacuum mechanics in this game are complex enough to where I believe using a script of some kind to automate looking for faster animations instead of old-school trial and error could yield some frame improvements on several ghosts.
- It is known that by ghosts clipping out of bounds while they are being vacuumed, it is sometimes possible for them to essentially ‘die instantly’. I don’t believe that regular ghosts move fast enough for this to be possible in most cases (?), but portrait ghosts like Neville move significantly faster and have more HP, so with god-like manip and clip-able geometry in the room this is worth looking into.
- The biggest theoretical timesaves to this run involves the Chauncey fight. While not specifically hard-coded to be impossible, there is a timer that begins once Chauncey is drained of a certain amount of health during his first cycle, which will force-disconnect him from your vacuum once it reaches 0. Even with optimal HP draining, it is only possible to get him down to 6 (!) HP before this timer expires. Though it seems impossible, somehow circumventing this would cut out the entire second attack cycle from the run and save over 30 seconds.
- A more likely timesave here would see Luigi clip out of bounds onto Floor 1.5, before the Chauncey boss fight is even started. There are no currently known ways to do this with the objects and actors available in the room before the fight (aka, without the chest), but nevertheless this seems more likely to be possible than one-cycle in my opinion and would save close to 2 minutes.
- It may be possible to improve the out of bounds movement slightly. Though it appears to be negligible, I did not test how walking while skewed at certain angles effects Luigi’s speed.
Suggested screenshots frames: 21890, 22058
Samsara: Judging.
Samsara: Impeccably executed and extremely entertaining from start to finish. My sense of humor is apparently Luigi constantly saying his brother's name, because even on rewatching I was cracking up nearly every time that Mario button was smashed. The other entertainment choices were absolute gold as well. I never really saw Luigi's Mansion as a particularly good environment for playing around in, apart from smashing that Mario button, but every wait had something unique and fun about it. Lots of different little things were put together perfectly to make this just a great overall watch.
As for the note about the branches, I agreed with it in the thread, and I've updated the branches of both published runs accordingly. This run will remain branchless as well, as I'm accepting it to obsolete the currently published, and newly branchless, run!
Zinfidel: Processing...