- Bizhawk 2.3.0
- mGBA core
- Tool-assisted Speedrun profile
- ROM checksum sha1: B9FE05A8080E124B67BCE6A623234EE3B518A2C1
- bios: gbabios.rom Bios(World), sha1:300C20DF6731A33952DED8C436F7F186D25D3492
Mechanics
- Running/Hopping
- Holding R while running will accelerate Wario to a maximum speed. However, while at full speed and charging, you can only jump at maximum height. Luckily, it is possible to keep full speed while hopping by jumping with R released the frame you hit the ground, or by jumping through a room transition and jumping on the first available frame in the next room.
- Ground Pound
- Increases Wario's fall speed, but also sets horizontal speed to 0. The most frequent use is when jumping off ledges to land earlier, but ground pounding for a few frames after turning around mid-air will also quickly increase horizontal velocity. Ground pounding for long enough will allow Wario to break strong blocks and break weak blocks without stopping. The other use of ground pounding is for zipping (see below).
- B Dash
- When used by itself, it allows for Wario to fall off a ledge while still building up speed in air (moving through the air otherwise does not increase speed). This is most often seen after collecting a gem piece because there is not enough platform to build up running speed. Used in conjunction with jumping, it allows for quickly increasing speed when there is a low ceiling above Wario. This is also used when needing to jump past an obstacle while still accelerating.
- Slide
- Sliding is used to quickly move through 1 tile gaps to minimize crawling, but is also handy to cover short distances very quickly due to its very fast initial speed.
- Throwing
- Tapping B will throw the enemy/object a short distance, while holding B will charge up for a longer throw. The thrown enemy can be jumped on to give Wario extra height in the jump. Throwing an enemy to break a block instead of ground pounding is faster because the ground pound animation takes a long time.
- Superswim
- In water, by tapping A or B, waiting for 2 frames, then holding B and a direction will make Wario swim at max speed vertically.
- Zip
- Ground pounding near a ceiling corner while still in the jumping animation will push Wario's hitbox upward a slight amount. If you hold the direction opposite to the wall the frame after ground pounding, Wario will clip into the wall. You can then press A to rapidly move upwards diagonally through the wall. This lets you potentially skip large portions of the game which would otherwise be mandatory. Unfortunately downwards movement is impossible, and not all corners can be used to zip. For example 3 tile ceilings on the left of Wario cannot be used to zip.
- Other Mechanics/Game Properties
-
- Breaking blocks head-on while at full speed will lose 1 frame, so I try to avoid that whenever possible.
- Jumping past the very edge of a ceiling corner will boost Wario 1 frame ahead, but he can't be in the ramming animation.
- After exiting the portal at the beginning of every level, you have 1 frame to perform a B dash, which saves a bit of time over just holding left/right.
- Running up/down slopes is slow when moving at high speeds, so it's usually faster to jump over them unless you need to build up speed.
- Soft resetting right after the end of each level/boss lets you skip the end cutscenes, as well as lets you skip the gem door cutscene before bosses.
The goal of every level is to collect all 4 gem pieces, trigger the frog switch, grab the keyzer, and get back to the portal. After you complete the Entry Passage you have 2 options: Emerald or Sapphire. Emerald is the most common starting point for players, so that will be the 1st of 4 passages in the TAS, going counter-clockwise through Ruby, Topaz, and Sapphire. After all the passages are complete, you can access the final stage and boss.
Entry Passage
Hall of Heiroglyphyics
This is the intro level, but it is far from the simplest. There's lots of blocks and enemies in the way, as well as small segments of movement which have a lot of possible options.
Spoiled Rotten
We use an enemy to jump behind the boss and charge it until it dies. After every B dash, a few frames of down input are included which save a small number of frames overall.
Emerald Passage
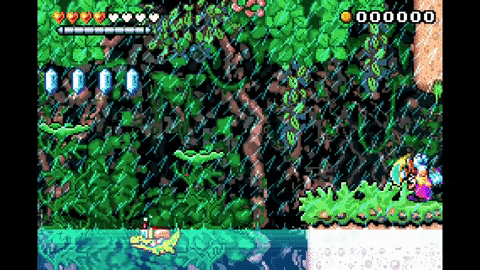
Palm Tree Paradise
Simple level which is really just running/hopping full speed to the frog switch and back. Skipping 3 of the chests on the first pass is slightly faster than getting them initially due to how enemies/walls/blocks are placed.
Wildflower Fields
Another simple level which is mostly running. The gorilla enemy near the frog switch can be used to get enough height to break the blue block without needing to climb the vine.
Mystic Lake
Mystic Lake has a lot of swimming, which is tough to optimize in the area with the bubbles because of the up and down superswims involved. An interesting feature is that after getting the keyzer, you can jump onto the frog switch platform by hugging the right wall while facing right, completely avoiding needing to swim around.
Monsoon Jungle
When getting fat Wario, I intentionally grab an enemy and hit it while transforming to cancel the animation, saving about 1 second. Also, landing on the very right of some of the swinging platforms snaps Wario slightly forward, which saves a few frames overall.
Cractus
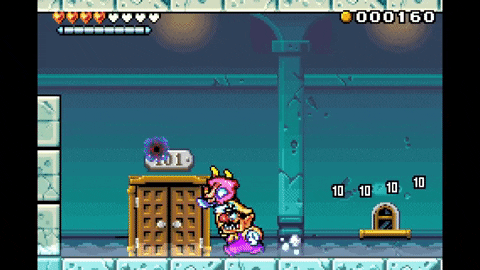
Not much to this other than ground pounding as early as possible.
Ruby Passage
Curious Factory
The rotating platforms and crushers are very annoying in this level. There is a pretty cool zip in the frog switch room which lets you avoid climbing the tall ladder, but the set up is slow enough that it doesn't save more than a second. In the huge room with the floating platforms, it is fastest to run at full speed on the platforms that are moving forward.
Toxic Landfill
There is a zip in the room before the portal which skip the entire room. There is a transition tile at the top of the ladder. When you zip to the top of the room, you can run along the top of it to reach the transition tile.
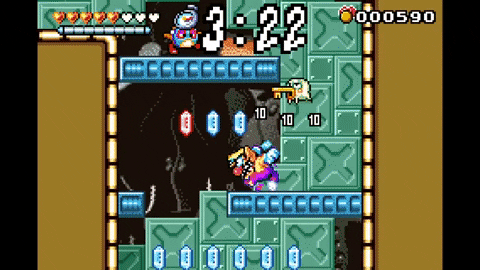
40 Below Fridge
Zips completely break this level, as you can completely skip the snowball puzzle room and the rooms right before the portal, as well as a lot of the keyzer room.
Pinball Zone
The most difficult stage to TAS. Picking up and throwing the balls is a nightmare to optimize, especially when some of the rooms have so many different routes/options to try. Thankfully the last 2 pinball rooms can be avoided with zips.
Cuckoo Condor
The first phase is straightforward. The second though is a bit more complicated. When the boss is popping out eggs, it is quicker to let it continue and get as many hits in succession as possible (essentially reducing downtime between eggs). By throwing eggs against the wall, it is possible to get 3 egg hits in a row without any hitting the ground. This cuts out 1 cycle (3-2-2 rather than 2-2-2-1).
Topaz Passage
Toy Block Tower
Another level where you skip almost everything with zips.
The Big Board
The idea here is that you need to progress the board at the bottom of the screen by hitting the cycling switches. Therefore it's best to hit the switches when they have high numbers (4-6) as you progress through the level, without losing time waiting for the switches to cycle through. The number order I choose allows me to use the spear enemies to zip in the room before the frog switch, rather than taking extra time to grab the Wario car.
Doodle Woods
This is a fairly linear level, with a few zips and enemy jumps that save a lot of time.
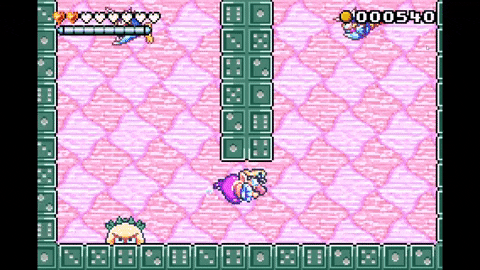
Domino Row
Some of the rooms have a "race" that occurs at the beginning where you need to hit the switch at the end of the room before the dominoes do in order to access different doors/items. Of course, we get to the switch too fast for it to matter. In fact, for one of the races, we just completely avoid it by zipping to the end of the room. For the last race and for the frog switch, we use a zip to take the water route which in total saves 4 frames. The room before the portal unfortunately has a 3-tile high ceiling on the left preventing zipping, so we have to go through the entire room to get the chest.
Aerodent
For the beginning phase, we jump into the bottom of the balloon to get it to the top of the room as soon as possible because the spike enemy only drops down once this occurs.
Sapphire Passage
Crescent Moon Village
In the room with the red switch block, we use an thrown enemy to trigger it instead charging into it. This not only saves time by not needing to make contact with the block, but also cuts out 2 screen scrolls where Wario cannot move. This means that we get hit on the way back by the enemy, but this still ends up being faster than killing it after flipping the switch.
Arabian Night
I end up grabbing the CD at the end because it's the fastest way to get to the pipe after zipping.
Fiery Cavern
The only level that requires going out of the way to get extra health because a lot of the lava pillars are unavoidable and too slow to wait for. Keyzer is grabbed early with a zip so we don't need to get it on the way back. We can avoid using snowball Wario by taking the top route in the room with the 3rd gem piece.
Hotel Horror
This level is done in reverse using an enemy jump, saving a lot of time over the normal route. Other than Mystic Lake this is the only other level with no zips.
Catbat
By doing a B dash off the wave, we can get 2 hits per cycle instead of just one. For the 2nd phase, we can ground pound over and over so we don't need to wait for a wave.
Golden Pyramid
Golden Passage
Done in reverse by hopping through the water. Before you trigger the frog switch, there are invisible blocks that force you to hit the switch. The spikes at the end of the level are solid blocks so they can't be bypassed by walking through them.
For whatever reason, the walls are hollow so a lot of zips that would be useful aren't possible.
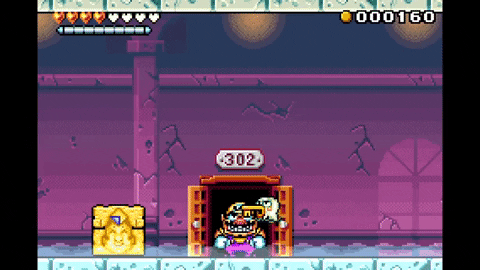
Golden Diva
Extremely tough to optimize. When you jump on the masks for the 1st phase, it is better to wait until they are close to the ground so they don't bounce as much; this is because they cannot be picked up until they stop bouncing.
The 2nd phase is all about using the hammer over and over, while also using the green ball whenever it spawns. The hammer bounces toward the direction the handle is pointing, so I manipulate that to get it to bounce towards the boss.
The last hit is done with a B dash into jump to have the last input be as early as possible.
feos: Claiming for judging.
feos: Thanks to Darkman425 for the review, and actually for bringing up that this run would not make sense to obsolete the Hard one. Otherwise I might have acted on old habits and just obsoleted the latter. But now I see that it would have been a problem.
The obsoletion system means that the "old" run is obsolete and surpassed in terms of quality. But even given the time gap and the new finds, that question is rendered moot by the fact that the new run's difficulty mode requires visibly different routing in most levels. 10+ years ago we'd just obsolete longer branches with shorter ones, and on top of that we'd prefer hardest difficulty in most cases, making this submission's judgment a pain to solve. But ever since we started relying on "what makes sense" in all policies and decisions, strictness is no longer our method.
It makes the most sense to publish inherently different branches separately. The only question is how to assign classes to those branches. The current Hard movie is a star, and we plan to make stars flags instead of classes, because the tier system is no more. Whether some branch or both branches become Standard or Alternative by then, is not critical right now, because policies may change along with the system. What we're sure about is not going to change tho: these branches co-existing.
Accepting as a new branch.