Hot Wheels: Extreme Racing is a racing game for the Sony PlayStation developed by Atod and HotGen and released by THQ in 2001.
Game Objectives
- Emulator used: Bizhawk 2.8
- BIOS used: SCPH-5501.bin (U)
- Luck Manipulation
- Aims for fastest time
- Takes damage to save time
- Uses an in-game code
- Uses normal difficulty
- Glitch Abuse
- Genre: Racing
Reverse Tracks
Reverse Tracks can be unlocked by either going through story mode cups or through usage of the cheat menu. I had already used the cheat menu in my first tas of Hot Wheels so i believe there should be no problem to unlock the Reverse Tracks this way, it saves me so much time.
Just like the normal tracks, Reverse Tracks features the same 12 levels.
What changed during my 1st submission and 11th submission
To be honest nothing really changed. I still tas the game the same way i did nearly 3 years ago. You would think to see a major improvement in tasing but that wasnt the case, aside from small rng improvement and better use of Ram Watch.
A new way to manipulate RNG
There were two ways to manipulate rng in Hot Wheels:
- Pick up an item on every other frame
- Waiting in the menu before the track to change specific changing items
Now a third way presented itself to me. If i had not made a tas for the Reverse Tracks then i would have most likely never found it.
Machinegun RNG.
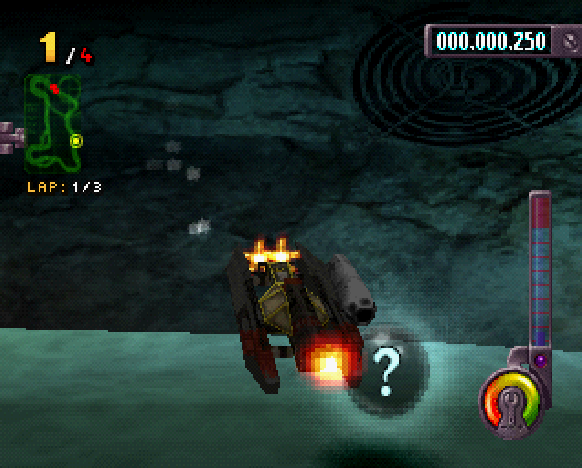
Hot Wheels has a variety of specific items of which there were only 2 that i actually wanted: Chain and Turbo.
Machinegun is a simple item which when used changes the RNG of ?-Items and respawning changing items. This is quite powerful, it basically acts as a turbo for me. Not only is it powerful, if you think too much about machinegun rng and every changing rng in the game it can be quite overwhelming. The sheer thought of
every possible RNG in the game with this method can be absurd. Oh and you cant use items while machinegun is active for 5 seconds, so its used during sections where i dont need to use anything like bouncing.
More help
Address 0E6399 is what you want to look at 99% of the time. Its your speed.
Address 0E6425 is almost never used. It is your speed but way more heavy. Its 40% of the speed address above. It was useful on Rattlesnake Gulch and Demolition Site. The address 0E6399 overflows when going above 255, so looking at this address here gave me a better view of my speed.
Address 0E6732 is your Inventory. What is so useful about that? Well you can see what item you pick up when you go through ?-Items, so it saves you time. This address can be poked to different numbers and lets you create "What if i had a turbo now" scenarios.
Numbers:
0 - Nothing
1 - Rocket
2 - Chain
3 - Triple Rocket
4 - Machinegun
5 - Grenade Launcher
6 - Mine
7 - Oil
8 - Turbo
9 - ?
10 - ?
11 - ?
12 - Homing Rocket
13 - Health
14 - ?
15 - Flamethrower
16 - Energy Ring
9,10,11,14 were numbers i could not assign items to, most likely they were skulls or ?-items.
Move like RNG
You will sometimes notice imperfect movement throughout the tas, this is because i can only go as fast as RNG allows me to. Wasting frames on purpose on specific sections can also be beneficial. If a car section has a ?-item which you want to generate a Turbo from in it, you want to first get as fast as possible to it,
so you can see which items generate. If a turbo does not generate from it, you wait for a few frames until it does. Sometimes it can take up to 20-30 frames to generate a turbo, so whats the use of going into the ?-item with a decreased car speed of lets say... 24?
If you need to use the turbo immediately then thats even worse, because using the turbo with a speed of 24 will not yield a good speed in the end, it should be something like 60. If you use the turbo with a much higher speed like 45 then the speed will go much higher, like ~70. So if you know when a turbo generates from a ?-item, you will have to look for ways to
increase or keep your normal speed when picking it up, that way you go a lot faster with the turbo boost. (Wallboosts or Momentum Resets).
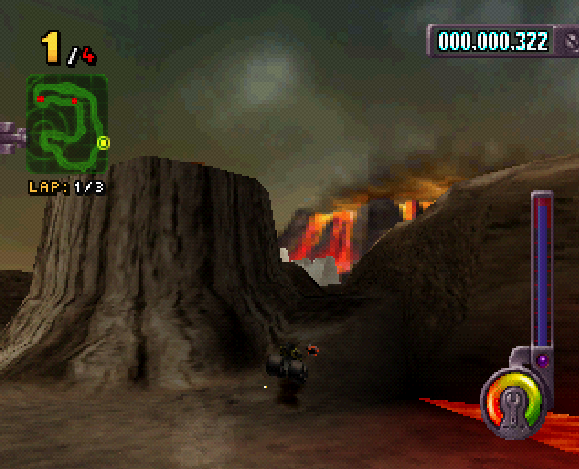
1. Reverse Beach-Head
Beach-Head is still simple even in Reverse. I would suggest learning the rng manipulation on this screen. On lap 1 the Oil before the whirlboost can not generate a turbo which is unfortunate. During the whirlboost "lag" will generate, so holding left or right will make it go away, even though it does nothing gameplaywise. It is possible to skip a lap with the whirlboost by jumping very precisely over the finish line, but feels impossible to actively achieve.
2. Wasted Forest
Incredibly difficult level. The walls do not allow for much speed so finding optimal bouncing patterns was a chore. During the whirlboost section you can go either left or right, depending on whether or not you are holding left or right. Just because you are holding right does not mean you are going right too.
When transforming into the car section again you want to delay the fast transformation from the whirlboost, because fast transformation is actually bad here. The dead tree to the right will block us and we are just too fast.
The delayed transformation is used because i can have my vehicle face left during the transformation. I was having so much trouble delaying the transformation, i just had no idea how to do it, so i was using somewhat random inputs before going into the portal.
The same jump through here is done too. Its so much better than going around.
Lap 2 has a generated turbo from the triple rocket thanks to the CPU.
3. Reverse Pier29
I expected this track to be more of a challenge because of the lack of possible movement, but snapping and wallboosting helped me. I managed to get both the boost and the turbo at the same time at the beginning of lap 1. Again, i use the outer section of the maze rather than the inner one, because i have more of a straight path. The end of the maze offers me a turbo which i need to quickly get out of
the car section and enter the plane section.
Lap 3 has the luckiest ?-item pickup during the maze, it was the literal first frame i got the turbo.
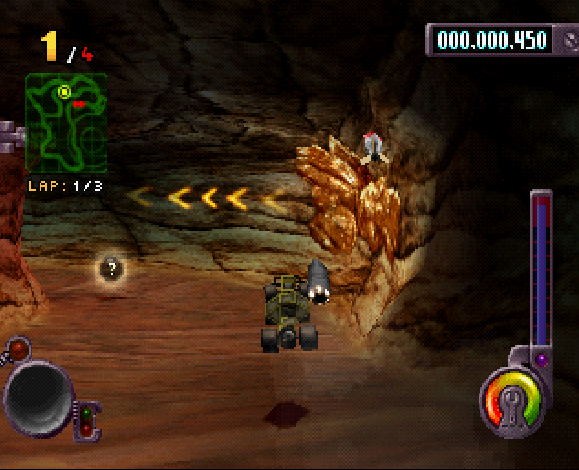
4. Reverse Toxic Dump
I noticed that using the Chain rather than the turbo in the flying section is faster. Both ?-items appear to have the same rng. Upon entering the car section your vehicle will sometimes bounce up, this can be prevented by landing more to the left. After the bouncing section i always want a turbo for the portalboost through the waterfall.
Lucky ending, the CPU shoots me after i had already taken damage from the skull which leaves you at 1HP.
5. Reverse Accursed Ruins
The RNG on this level is out of this world. The changing items in the track are changed through delaying the input in the menu. A turbo is always necessary to get out of the 1st section so of course, i need to manipulate either a turbo before entering it or get one from the already generated turbo.
It greatly bothers me how slow the car section is, there is just no possible way to get good bouncing patterns without a speedportal or turbo.
You may be wondering why im not using the speedportals when im in boat sections. Driving through speedportals in a boat will only temporarily increase your speed and then decrease your speed by a lot. The only benefit you could possibly get from them is to get a turbo faster from a ?-item but even then, it would not be ideal.
At the start of lap 2 i generate a turbo from the ?-item, which then turns into a turbo item at the start of lap 3. This is where our luck ends, because i just could not get a turbo in the middle of lap 3. A ?-item will appear in the boat section, but it only generated 50 frames late. I went out of my way to optimize the car + bouncing section as much as i could, but there was just no earlier turbo available.
The whirlboost speed needs to be cut in half by hugging the wall, because there is no way to even make the first corner of the car section without getting flung into the wall.
6. Reverse Rad Shaft
The sudden speedboost after the transformation into the boat is obtained from the perfect start. Machinegun RNG helped make this track possible, otherwise there would be a lot of waiting for turbos to generate from the ?-items.
This ?-item is really hard to grab for some reason, sometimes you pick it up while falling into it and sometimes you dont.
Lap 3 lets me go as fast a possible because i dont care about RNG anymore.
7. Reverse Condemned Factory
Nothing spectacular other than momentum reset is happening in the vents, only the turbo is picked up at the end. A chain of 4 ?-items produce turbos in the plane section, just barely faster than using Chain. The next vent section is harder because the speedportal is located at the end, making it useless.
On Lap 2 i use the chain in the vent to go much faster than expected. Lap 3 has two ?-items at the end, only the left having a turbo. The vent section has to be quite slow due to this.
8. Reverse Dead Mans Mine
This track is faster than forward facing Dead Mans Mine somehow. We are still getting unlucky with one of the ?-items generating a turbo a whopping 70+ frames late, i cant believe it.
I believe that there is also the chance that i havent fully explored every possible frame on this ?-item on lap 1, but getting there 70 frames faster and checking every single frame for a turbo without anything going my way... sad.
Reverse Dead Mans Mine still went exceptionally well despite this. You only need 1 turbo for 1 lap actually, but if the track gives me non changing turbos then im obviously gonna use them. The box is gotten rid off at the end of lap 1 for the next 2 laps, its much faster. If you were slow enough to catch
one of the CPU's at the end of lap 3 driving into the skull, it will generate a better turbo, but i was too fast for this. An afterthought idea would be to use the skull yourself for a potential turbo on the next lap, but you run the risk of dying. Think about "move like rng".
9. Reverse Rattlesnake Gulch
My favorite track. At the start we take a wider turn than necessary to get up on the hill, but it will let me grab the turbo 2-4 frames faster. Unfortunately we cannot get a chain for the plane section on lap 1, because no chain is present. I was experimenting with the triple boost from the speedportal after the flying section, which means jumping slow enough into the portal to have it trigger 3 times instead of 2.
This means that i can get a speed of ~125 at the beginning instead of ~110. I found it best to complete the bouncing section with a speed of 140 instead of using a speed of ~200? There is no way to get past this wall, its easy to say to just turn right but my vehicle is locked. I really wish this would work, but i have spent all frames on these turns.
Lap 2 i picked up the energy ring without waiting to create a turbo on the next lap. Somehow i dont need to reset my momentum before entering the car section, this still only work if you enter the portal in a specific way.
10. Reverse Demolition Site
Demolition Site is a nice track too because of how short it is, but that doesnt mean its easy to optimize. Too many walls which prevent me from going fast, so i will just fling myself into the walls with high enough speed to benefit from wallboosts when i cleared them. So why am i not using the shortcut at the start of lap 1? The reason is that i would only have a speed of ~40 and have no items at my disposal.
The normal way has 3 ?-items: Turbo - Machinegun - Obviously a turbo after machinegun.
The sharp turn at the end of the car section can only be cleared with a speed of 90. In the middle of lap 3 i have made an improvement with the turbo generating slightly later, but its still useful to stop for it for the portalboost in the boat section. I can grab the chain from the ?-item in the whirlboost, which for unknown reasons accelerates my vehicle faster at the end of lap 3 - saves 0.2s.
11. Reverse Frozen Wasteland
Inputs in the menu need to be delayed to change the Health Pack into a Turbo at the start of lap 1. Frozen Wasteland prevents you from snapping your vehicle, which is a huge disadvantage. Still, the rng of this track is awesome. The chain is picked up with a short delay to generate a turbo on the next lap, then i use the outer section of the track because i dont have a turbo. Now that i have a turbo for lap 2 and potentially lap 3 i can use the inner section of the track.
I can destroy the skull at the start of lap 2 to create a turbo for lap 3. The inner section in the middle of lap 3 actually produced another turbo, which was useless to me but still funny.
12. Reverse Burnt Out Shack
Delaying Inputs, the Health Pack turns into a turbo. This track is the ultimate test of your skill: RNG Manipulation and narrow walls. The triple rocket at the start of lap 1 is manipulated into a turbo on lap 3, then i reset my momentum for the next car section. The RNG we get from the machinegun in the next section is both good and bad, because the item itself will create a flamethrower on lap 3 which is useless. It shuffled all of the rng of the rest of the items to be extremely favorable.
In the next section there is just 0 way to go fast with walls as close as this, so the only option i have is to go somewhat fast and have my vehicle grounded at all times, because i want to use turbos here. The boat part is almost completely skipped with a whirlboost. On the first lap i intentionally grab the grenade launcher on a specific frame and waste it so i can get the chain in my inventory. The grenade launcher will turn into a turbo for me on lap 3. I found the end of lap 3 to be the most problematic
because i have speedstorage and need to have my vehicle grounded, so i just hug the wall to lose half of my speed. I prefer to use the chain in this section, because turbos and walls dont mix well together. Well, except for lap 3, this is where i use the last of my turbos to get to the finish line as fast as possible.
You can potentially get hit by one of the mines the CPU dropped to get grounded and flung into the wall faster, but the left wall was just too wide for this.
We grab the last crystal and the tas ends.
Final words and thoughts
This was a lot of work. I really thought that Reverse Tracks was going to be a disaster, but it actually surpassed the normal tas by a lot! Thank you for reading and watching, this was most likely my last Hot Wheels Tas, unless i come up with something.
eien86: A blazing fast movie that beats every cup in the game by traversing each race at warp speed. Here, the author used an in-game code to get the best vehicle in the game (for TASing, at least) and the best set of mechanical improvements to abuse the engine even more.
Accepting to Standard
eien86: Replacing movie with one containing a correct cycle count