Let's
JAM! (No, not that kind of jam...)
This is
Syobon Action JAM, a
Super Mario Bros. hack made in two days for the first annual SMB Jam (hosted by SMB Arena) in 2021. This hack follows the theme of the classic, troll-ridden
Syobon Action, which is infamous for its fair share of traps and difficulty; a first of its kind which requires trial-and-error for the unprepared, all the while you venture off to retrieve a melon trapped inside a castle.
There's only one short level, but this hack does not come bundled with checkpoints, meaning that a single death results in all progress being lost.
I made this run in a single day, 5/25/2025, with the intention of beating
DaSmileKat's 2021 run; and I did so, by three frames, thanks to precise optimizations for the second and third areas.
Hopefully it's become apparent in the video, but if you need a look at a comparison between me and DaSmileKat's run, jump to 0:48, because the improvements are pretty small.
Before we start...
This is also my first run which ends on a frame with input, akin to a majority of TASVideos runs.
I wasn't sure whether for the last frame to have input or not, but after a while, I decided to let the last frame have the last input (that is, the last available frame where I have control), akin to a majority of TASVideos runs that I checked.
I've always gone around and added a blank frame after the last frame of input, so I guess you could say this is a bit new. It might be the better thing to do though for my future runs, especially the non-SMB1 ones.
Area 1: Overworld
Already a doozy to begin with.
Right off the bat, the first pipe contains a flying seal that whooshes right up. I can't duck, nor can I just jump over; not only is it slower for the latter, but going past the pipe as well will have me fall through the ground (it's not solid, and tiles disappear when touched). So it's only fair I have to slow down to avoid bumping into it. Unlike in the original
Syobon Action, I can't hold Up or A to bounce on the seal either, as (much like the majority of enemies featured in the hack) it will only insta-kill me. Starting the game a frame earlier (on frame 40 instead of frame 41) didn't help matters either.
Another flying seal pops up from the third pipe, so that requires another slowdown; thankfully not a major one this time, as I can make it over and onto the next pipe. The rest is smooth sailing from here.
Oop, forgot to mention; that fourth pipe also leads to an underground "bonus" room, akin to World 1-1 of the original
Super Mario Bros., but it's a trap as the ground is not solid. Trying to walljump just over the ground won't work either as there are hidden blocks that are simply to
die for (literally).
Area 2: Underground
Here, I need to scooch over to the left to the first safe ground tiles. The next three are not solid and will, again, disappear on contact. The jump I make is just enough to cross the gap while cutting off one of the ground tiles, but after that, I should be fine.
The next gap in the two five-block-tall cement block walls is unusually difficult to cross, requiring that you hit the question block to reveal Shelly and (pray that you can) let it move right and fall into the hole in the ceiling; there, you can make a running jump and bounce on Shelly as it falls, allowing for that gap to be manageable.
Or you make the running jump anyway and hope that you make it a tad bit in the top of the right wall thanks to a hidden block, part of a row of it that's supposed to prevent you from getting back over. A little harder, but at least it's more consistent; that's
SMB1 physics for ya.
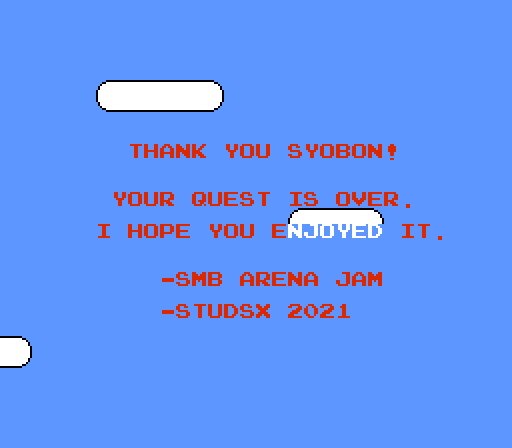
Anyway... after that, the taller pipe is your next rite of passage to the third and final area. Past that point, you'll find an arranged cycle of enemies as cement blocks spell out "SMB JAM 2021", followed by one last warpable pipe at the end that leads you to- Oh wait.
Final Area: Castle
...well that was fun while it lasted, wasn't it?
Right, moving on; there's a pipe with another flying seal, but this one will only pop up if you're closer to the right of the pipe, so you'd have to run over that.
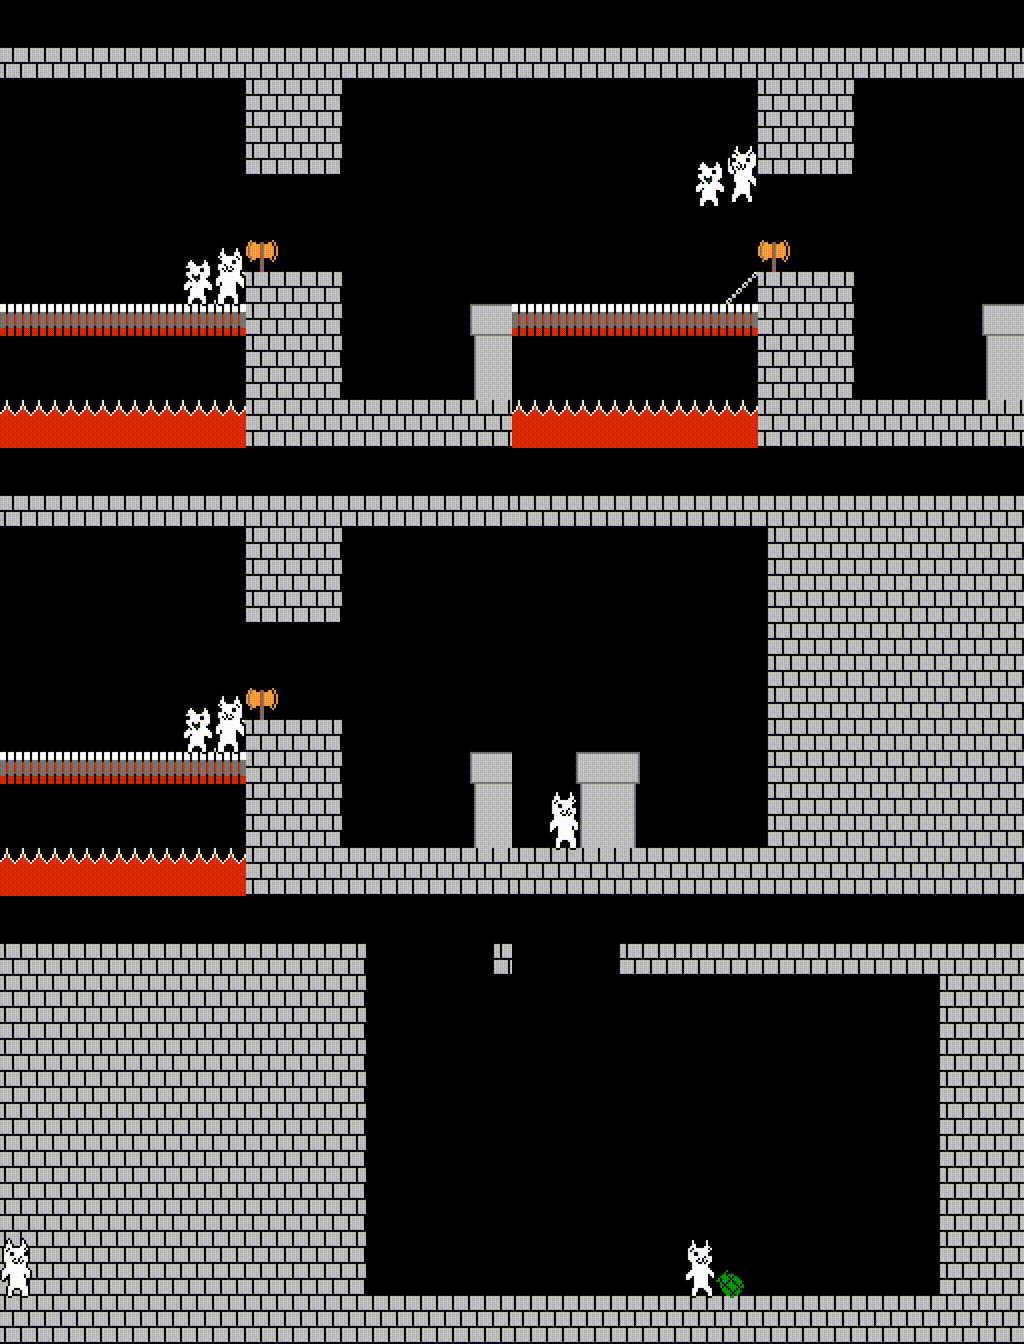
There are a couple counterclockwise firebars, one fast and one slow. They switch directions every now and then, depending on where you land and how high you jump (and probably your Y pixel too?). For the life of me though, I can't quite seem to figure out their functions correctly, so I'll leave that to your imagination. Regardless, I suppose jump alignments are a must here for getting past 'em.
The top ? Block (above the normal ? Block containing a coin) speeds the firebars up to oblivion, at this point guaranteeing a death and impossibility of making any further progress on your current attempt.
After that, a slowdown was needed on my end to avoid bumping into the Podoboo; trying to cross the gap from the normal ? block to the pipe is impossible. I tried bouncing on Kuma/Pedobear to reach the first lower platform and make it onto the higher platform, but it was too slow both ways. So I opted to slow down early, go under, and jump from the ground next to the pipe instead, which definitely worked out better.
Then here is a bit of platforming. The higher platform will drop our heroic Syobon much quicker when standing on it. Then I need to go under the trapped pipe (which doesn't lead anywhere) and onto the next two platforms, then back over.
A hidden block then makes way for breaking the two oddly-colored bricks on the ceiling (or in my run, one of them), running across, and finally stopping to meet paths again with our old melonhead, free from the hands of Molallo/Binsyon and Lord Kukkuru.
Until next time...
There
is one last tidbit about the area that's worth pointing out; when approaching Molallo, he'll jump when you jump, and when he does, he'll jump at the same height as you, but that's just about it. He's also a one-hit kill enemy, and there's no use trying to get past him. If, somehow, you manage to get past Molallo while still on the bridge, you can safely hit the axe and finish just a little earlier.
But at what cost? There's no known method of getting that axe, so we can only work with dancing across the ceiling, like in the original
Syobon Action.
Comparison table
| Area | Time saved vs. DaSmileKat's run | Overall time difference |
|---|
| 1: Overworld | 0 frames saved/lost | |
| 2: Underground | 1 frame saved | 1 frame saved
|
| 3: Castle (FINAL) | 2 frames saved | 3 frames saved (FINAL)
|
Possible improvements?
There's not many that I know of, except for maybe a better way of maneuvering around the seals in the first area and the platforming in the final area. But there ain't much I can do on both counts.
By the way... If you're precise enough to walljump in the underground "bonus" room trap (a little further over the ground; basically where the Y pixel meets with the bottom coin row, see GIF below) and enter the reverse L pipe, you can finish the game early by making your way to the cement block staircase in the groundless 1-1-lookalike, though at the cost of a ~12-minute wait for the ending text to appear.
A surprising shortcut I discovered a day before actually starting (even though I wasn't the first), though I honestly feel like it's not worth it to legally cheat my way through the hack in 20 seconds and call it. I think for now, it makes sense to have a complete run of the hack's intended route published here.
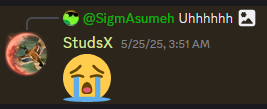
This reaction from the hack creator himself gave me a bit of a chuckle though (hopefully it's okay if I leave it here this time):
Additional thoughts?
Yes... This is unfortunately another submission made with the intention of "Someone made a submission of the hack; it's not to the best standards according to TASVideos (mostly due to suboptimization), therefore rejected; and now I'm here making a better submission for the hack", especially with
that prior submission coming from KotyaTAS. Poor kid; I can only hope for the best in their future endeavors (and at the very least, improvements from them).
Ugh. Regardless... This was originally uploaded as a userfile the same day I finished; I guess I wasn't quite sure if I should give myself the go-ahead to submit, but I suppose that decision finally comes to fruition a year later. Unfortunately, I wish I knew how that hack did in the competition. (I don't think I was paying attention to the standings there... It can't be last place though.)
Well, anyway, with that, hope y'all enjoy. Props and どうもありがとう to StudsX for being an awesome SMB1 hack creator as usual.
Suggested screenshots?
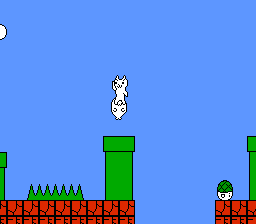
Frame 502, overworld area
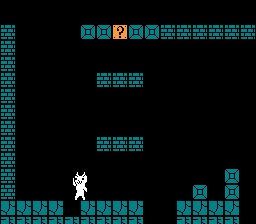
Frame 856, underground area
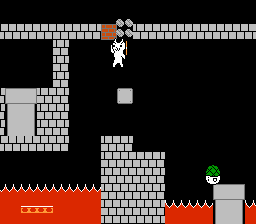
Frame 1693, castle area
Gonna be honest, I wish I had better ones ready if I knew I were gonna submit. Better than nothing though, I guess; it's still publishers' call to pick the frame that works best for publication.
also lol same jumping pose
Challenger: Short hack but with some spirit of the original Syobon Action game. Nice work and research after all, with only three frames gained over the known previous WR TAS!
Accepting for publication.